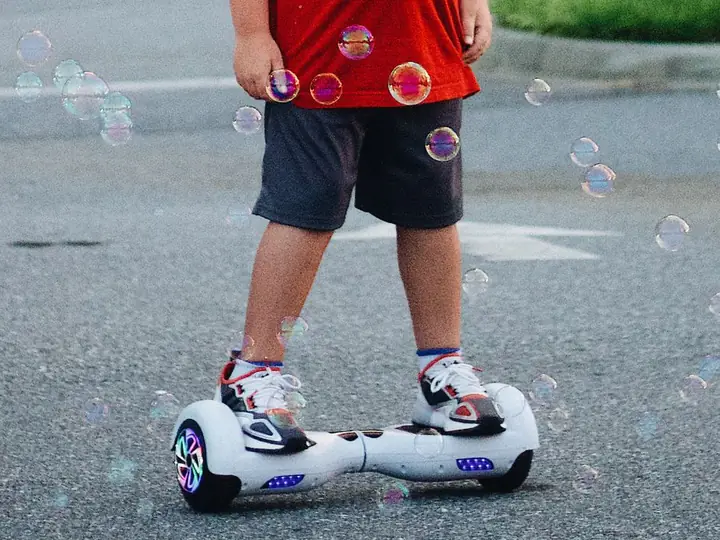
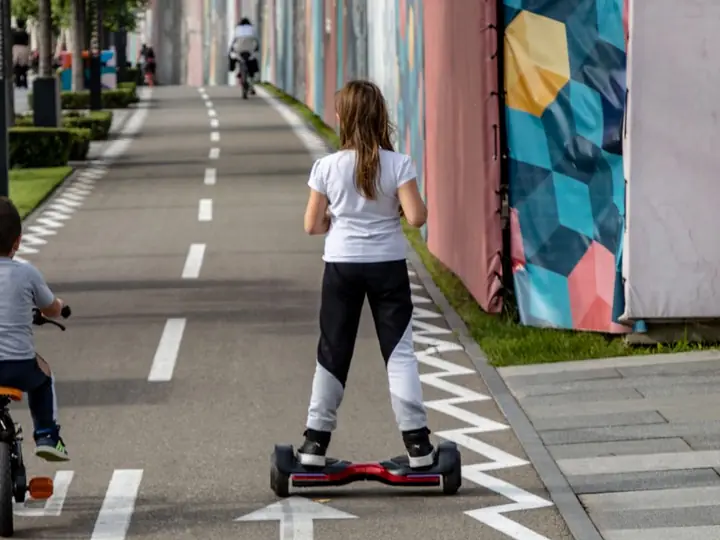
A single beep, a red light, or one wheel that plays dead usually means a worn footpad sensor. Here's the calm, no-soldering way to swap it yourself in under an hour.
You step onto your hoverboard, shift your weight, and… nothing. Maybe it beeps once and blinks red. Maybe one wheel spins while the other plays dead. Nine times out of ten, a worn-out hoverboard footpad pressure sensor is the reason. It is the little part that tells your board a rider is standing here, and when it stops working, the board simply stops listening to your feet.
Here is the good news: this is one of the cheapest and most satisfying hoverboard repairs you can do at home. The rubber pressure pads cost around 6 to 13 dollars, a full sensor board runs about 10 to 20 dollars, and the whole job takes 30 to 60 minutes with a single screwdriver. No soldering, no special skills, and no trip to a repair shop. Just a little patience and a phone camera to remember where the wires go.
In this guide we will walk through exactly what the footpad pressure sensor does, how to tell it apart from a bad battery or motherboard, and a clear step-by-step for swapping it out and calibrating afterward. By the end you will know whether to grab a 6-dollar pad kit or a new sensor board, and how to get your ride waking up the second you step on again.
This article is part of our hoverboard troubleshooting hub, which covers every common fault, from charging to calibration.
What a Footpad Pressure Sensor Actually Does
Your hoverboard has two footpads, and tucked under each one is a small sensing system that works like an on/off switch for your feet. That system is what people mean by the footpad pressure sensor. Its whole job is to answer one question for the control board: is a rider standing here, and which way are they leaning? When it answers correctly, the board balances and rolls the instant you step on. When it gets confused, the board just sits there beeping, even if the battery, motors, and wiring are all perfectly fine.
It helps to picture the three parts that work together under your foot. The soft rubber pads take the actual weight of your step. They press a small plastic flag, and that flag blocks or opens a beam of infrared light on a little circuit board. The board reads that beam and tells the brain of the hoverboard whether your foot is planted. Wear out any one of those three parts and the whole chain breaks.
The rubber pressure pads
These are the soft molded bumps you actually step on. They take all the abuse and squish down to press the parts below. When they crack, flatten, or tear, they can no longer press hard enough to trigger the sensor, and that is the most common failure of all.
The infrared switch
Each pad pushes a tiny plastic flag that blocks or opens a beam of infrared light. When your foot presses down, the beam changes and the board reads foot present. It is a simple, clever design with no moving electronics to wear out, which is why the pads usually fail before the sensor does.
The gyroscope sensor board
This is the small circuit board that holds the infrared sensors. It sits under each footpad and wires into the central mainboard. Classic hoverboards have two of these boards, one per side, so a single dead footpad often points to just one board.
| What you see | Most likely cause | First thing to try |
|---|---|---|
| Powers on and charges, but ignores your feet | Footpad pressure sensor or worn rubber pads | Swap the rubber pad kit, then the sensor board |
| One footpad works, the other is dead | That side’s sensor board or pads | Replace the sensor and pads on the dead side only |
| One stubborn beep and a red light when you step on | Your foot is not being detected | Recalibrate first, then replace the sensor |
| Will not power on or charge at all | Battery, charging port, or charger | Test the charger and battery, not the sensor |
| Both wheels shake or jerk violently | Calibration or the mainboard | Recalibrate on flat ground before buying parts |
| Rolls or drifts slowly on its own | Needs calibration | Recalibrate before assuming a part is bad |
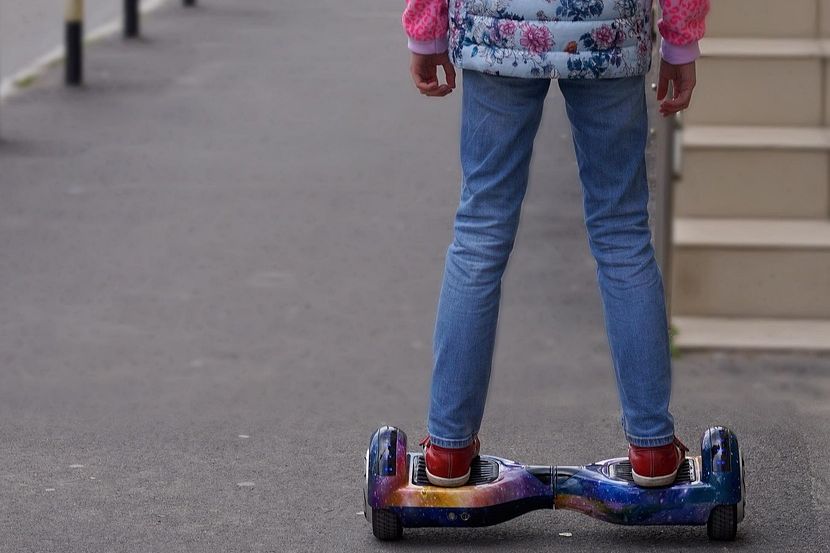
Signs Your Pressure Sensor Is Bad (Not Something Else)
The tricky thing about a bad pressure sensor is that it can look a lot like a dead battery or a failing motherboard from the outside. The secret is to watch how the board behaves the moment you step on. A sensor problem is very specific: the board has power, it charges, the lights come on, but it flatly refuses to react to your foot on one or both pads.
Run through the clues below. The more of them you check off, the more confident you can be that the footpad sensor, and not something pricier, is your culprit.
Now for the opposite signs. If the board will not power on or charge at all, look at the battery, charging port, and charger first. If both wheels shake, buck, or spin on their own, that is usually calibration or the mainboard, not the footpad sensor. Matching your exact symptom to the right part saves you from buying a sensor you never needed. The symptom table further down does this at a glance.
- You step on and nothing happens, but the board powers on and charges just fine.
- One footpad works perfectly and the other is completely dead.
- A single, stubborn beep every time you step on, usually with a red light.
- The board only responds if you rock your foot or press one exact spot.
- It worked fine until a hard drop, a puddle, or a long spell in a freezing garage.
Tools, Parts, and What It Will Cost
You do not need a workshop or any real electronics skill for this repair. Most riders already own everything except the replacement part itself. Here is the short list of what to have on hand before you start.
For the part itself, start cheap and work your way up. The most common fix is a rubber pressure-pad kit, which replaces the squishy pads that actually press the sensor. If fresh pads do not wake the board up, the next step is a full gyroscope sensor board for that side. Only if both sides misbehave should you look at the mainboard. The parts-and-prices table below lays out typical 2026 costs so you can budget before you order.
If you just want a quick, universal starting point, a rubber gyroscope pad kit like the one featured below fits the vast majority of two-wheel boards and costs about as much as lunch. Keeping a spare set in a drawer is a smart move if you have kids who ride hard.
- Phillips #2 screwdriver (a power drill on a low, gentle speed is faster)
- A long, thin screwdriver for the screws tucked in near the wheels
- A cheap multimeter (optional, but great for testing before you buy parts)
- Needle-nose pliers for stubborn plug connectors
- A cardboard box or foam block to rest the board on without scratching it
- A sandwich bag or magnetic tray to keep screws from rolling away
- An anti-static wrist strap, or simply touch bare metal before handling the board
How to Replace the Footpad Pressure Sensor, Step by Step
Set aside 30 to 60 minutes for your first time, put on a podcast, and work slowly. There is no soldering here. Every part connects with plug-in clips and a few screws. The single most important habit is to photograph each connector before you unplug it, because orientation is where beginners trip up.
Work through the steps in order. If you are only replacing the rubber pads and not the whole board, you can stop at the pad swap in step seven and skip the connector work.
That is the entire job. If it felt fiddly near the wheels, you are not alone. Those tucked-away screws are the most annoying part of the whole repair, and a long, thin screwdriver makes them far easier to reach.
- 1. Power the board off and unplug the charger. Never open a board that is plugged in.
- 2. Flip it upside down onto the cardboard, with the power button facing up toward you.
- 3. Remove the shell screws on the side without the charging port. Keep each side’s screws separate.
- 4. Gently lift the shell. Unplug any wires attached to it, such as the LED light strip, before setting it aside.
- 5. Find the yellow battery connector in the middle and unplug it. This kills all power. Always do this before touching the sensor.
- 6. Locate the gyroscope sensor board under the footpad. Unplug its clips, usually three small white connectors. You may need to move or unscrew the battery cage (about four screws) to reach a wire.
- 7. Undo the four screws holding the sensor board and lift it out. For a pad-only fix, pop the old rubber pads and retainers out and press the new ones firmly into place.
- 8. Compare the old and new sensor side by side. The clip layout and board size must match exactly.
- 9. Seat the new board in the correct orientation: the single wire or clip faces inward toward the center, and the row of sockets faces outward toward the wheel. Screw it down.
- 10. Reconnect all the white clips, then plug the battery back in.
- 11. Set the shell back on, reconnect the LED wire, and screw it closed.
- 12. Repeat the whole process on the other side only if that footpad is also dead.
Reassemble, Test, and Calibrate
Before you close everything up, it is worth a 30-second test. Set a multimeter to resistance or continuity, touch the two sensor terminals, and press the pad with your finger. The reading should jump or change. If nothing moves, the new sensor is not seated right or a connector is loose. Fix it now, while the shell is still open and easy to reach.
Once the shell is back on, you must calibrate. Calibration re-teaches the board what level and empty feels like, so it trusts the readings from your new sensor. Skip this step and even a flawless sensor can feel drifty, beep at you, or refuse to switch on. It only takes a minute.
Follow these steps on a hard, level floor, not carpet or a slope.
- Fully reassemble the board and place it on flat, level ground.
- Make sure both footpads are level and nothing is touching or resting on them.
- With the board OFF, press and hold the power button for 5 to 10 seconds until it beeps and the lights flash.
- Release the button, then press power to turn the board off.
- Press power again to turn it back on. It should now sit calm and flat.
- Step on gently and test both sides at low speed in an open space.
Pads, Sensor Board, or Mainboard: Which Do You Need?
If you are staring at your board unsure which part to buy, use a simple ladder. Start on the bottom rung and only climb higher if the cheaper fix does not solve it.
Rung one is the rubber pad kit. It is cheap, close to universal, and the cause of most cannot-feel-my-feet complaints, so it is almost always worth trying first. Rung two is the footpad sensor board for the dead side, which handles a burnt-out or cracked infrared sensor. Rung three is the mainboard, which you would suspect only if both sides act up together, the board will not balance, or it will not power on at all. The comparison table below weighs doing it yourself against a shop and against simply buying new.
Be honest with yourself about when a board is not worth saving. If yours is several years old, has puffy or swollen batteries, or predates the UL2272 safety standard, do not pour money into it. A modern UL2272-certified board from a brand like Segway Ninebot, Gyroor, or Hover-1 is a safer home for your cash than a stack of parts in an aging shell.
Make Your New Pressure Sensor Last
A fresh sensor can last for years if you treat it kindly. Most sensors do not die of old age. They are killed by water, hard drops, and being crushed under too much weight. A few easy habits keep your repair from becoming a repeat job a month later.
Do these and the odds are good you will not open the shell again for a long time. And if you ever do, you will already know the drill: photos first, battery unplugged, match the part, and calibrate after.
- Keep it dry. The infrared sensor and open circuit board hate puddles, wet grass, and rain. Wipe the board down and never ride through water.
- Respect the weight limit. Overloading flattens the rubber pads quickly and stresses the sensor underneath.
- Store it indoors and warm. Freezing garages make the rubber pads stiff and brittle over time.
- Step on flat, not stomping. Slamming your heel down cracks pads faster than normal riding ever will.
- Re-tighten the shell screws every few months so the pads keep sitting at the correct height.
- Recalibrate first if it ever starts drifting, before you assume the sensor has failed again.
| Part | What it fixes | Typical price | Difficulty |
|---|---|---|---|
| Rubber gyroscope pad kit | Cracked or flattened pads that will not press | $6 – $13 per footpad | Easy |
| Footpad gyroscope sensor board | A dead infrared sensor on one side | $10 – $20 each | Easy to moderate |
| Main control board (motherboard) | Both sides misbehaving or no balance | $12 – $30 | Moderate |
| Charging port or charger | Board will not charge or power on | $8 – $25 | Easy |
| Full repair at a local shop | You would rather not open it yourself | $40 – $70 plus parts | None, they do it |
| Option | Cost | Time | Best when |
|---|---|---|---|
| DIY pad or sensor swap | $6 – $25 | 30 – 60 minutes | The board is otherwise healthy and out of warranty |
| Local repair shop | $40 – $90 | 2 – 5 days | You would rather not open it or lack the tools |
| Buy a new UL2272 hoverboard | $120 – $300 | Instant | The board is old, unsafe, or failing in several places |
Common Mistakes (and How to Fix Them)
Fix: Test with a multimeter or by process of elimination first. Replacing the whole sensor board will not help if the real problem was a torn rubber pad, a loose clip, or just calibration. Start cheap and confirm the fault before you spend.
Fix: Match the new board to the old one before you screw it in. The single wire or clip faces inward toward the center, and the row of sockets faces the wheel. A quick before-photo makes this impossible to get wrong.
Fix: Always recalibrate on flat, level ground with the pads untouched. A perfect new sensor can still feel drifty, beep, or refuse to switch on until the board relearns what level and empty feels like.
Fix: Grip the plastic plug, not the wires, and wiggle gently with needle-nose pliers. Yanking the cable can tear a wire out of its connector and create a brand-new fault that is harder to trace than the original.
Pro Tips
- 💡 Photograph every connector and screw location before you touch anything. It turns reassembly into a simple matching game instead of a memory test.
- 💡 Buy both footpad kits at once if your board is a few years old. The second pad usually gives out soon after the first, and shipping twice is a hassle.
- 💡 Drop screws into a labeled bag or magnetic tray by side, since the two shells often use slightly different screw lengths.
- 💡 Touch a bare metal part, or wear an anti-static strap, before handling the sensor board so you do not zap the electronics.
- 💡 Test the old sensor with a multimeter first. If the resistance changes when you press the pad, the sensor is fine and your real problem is elsewhere.
An Example Scenario
Illustrative example: a composite of situations riders often describe, not a real customer story.
A typical case: a Hover-1 beeps once, flashes red, and freezes the second the rider steps on the left pad. Flip it onto a cereal box, remove six screws, and you may find a rubber pad split clean down the middle. A cheap pad kit and a ten-minute calibration later, the board glides around the driveway like new.
The trickier one was a three-year-old Swagtron where the pads looked perfect but the right side stayed dead no matter what. That time it was the sensor board itself, a roughly 14-dollar part. Same teardown, same photos-before-unplugging routine, and it came back to life on the very first try.
Frequently Asked Questions
You only need to replace the side that is failing. Each footpad has its own pads and its own sensor board, so if the left side is dead and the right side works fine, just fix the left. That said, if your board is a few years old, buying both kits at once is smart, because the second pad often gives out soon after the first.
Expect 6 to 20 dollars for the parts. A rubber pressure-pad kit runs about 6 to 13 dollars per footpad, and a full gyroscope sensor board is roughly 10 to 20 dollars each. Compare that to 40 to 70 dollars for a shop repair or 120-plus dollars for a new board, and the do-it-yourself route is easily the cheapest fix.
If the board powers on and charges but ignores one foot, it is almost always that side’s sensor or pads. If both sides shake, drift, or the board will not power on at all, suspect the mainboard, battery, or calibration instead. A quick multimeter test on the sensor pad settles it: the resistance should change when you press the pad.
Yes, always calibrate afterward. The board needs to relearn what level and empty feels like with the new sensor installed. Set it on flat ground, hold the power button for 5 to 10 seconds until it beeps and flashes, then power off and back on. Skipping this step is the reason a perfect new sensor can still feel drifty.
Rubber pad kits are close to universal, because most boards use the same 41.5 mm pad shape. Sensor boards are not. Clip counts, connector types, and board size vary between brands like Hover-1, Swagtron, Gyroor, and Segway Ninebot. Always match the new sensor board’s shape and connectors to your old one before you buy.
Fixing is worth it if the board is otherwise healthy and only a sensor or pad has failed, since you will spend under 25 dollars versus 120-plus for a new one. But if the board is old, has swollen batteries, or is not UL2272 certified, put your money toward a new certified board for safety instead of chasing repairs.
Final Checklist ✅
- ✅ Power the board off and unplug the charger before opening it.
- ✅ Rest it upside down on cardboard or foam with the power button facing up.
- ✅ Photograph every connector and note which screws came from which side.
- ✅ Unplug the yellow battery connector before touching the sensor board.
- ✅ Match the new pads or sensor board to the old one before installing.
- ✅ Reconnect all clips, plug in the battery, and close the shell fully.
- ✅ Calibrate on flat, level ground and test both sides at low speed.