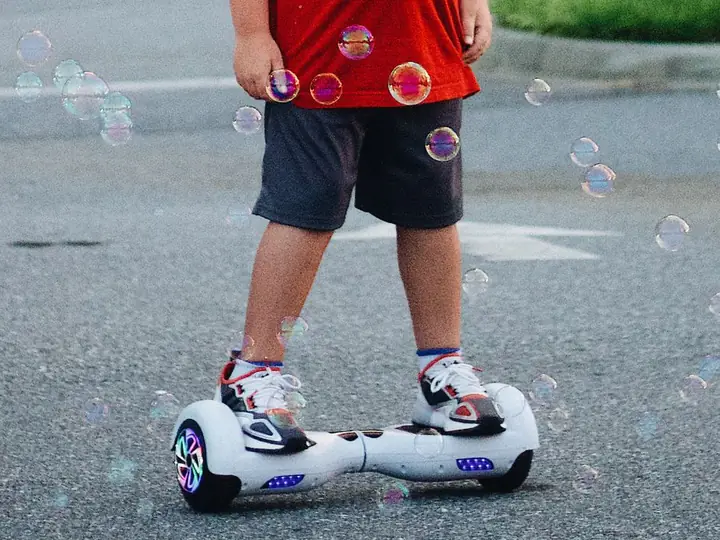
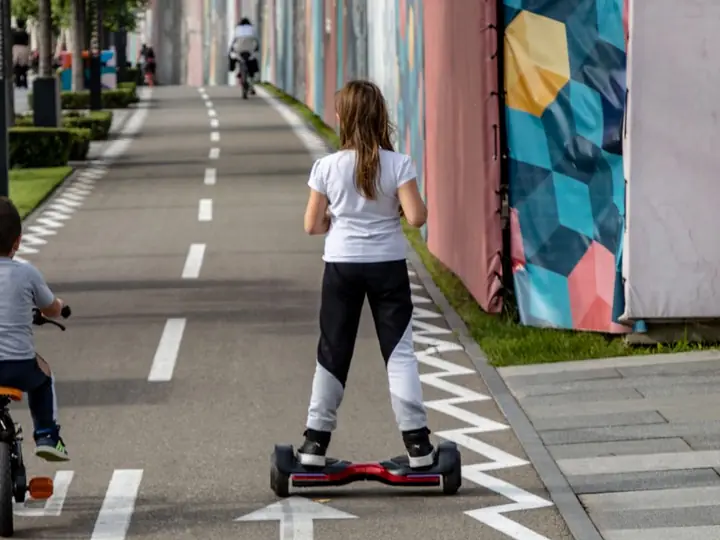
A simple, safe way to get mud, hair, and grime off your hoverboard wheels, without hurting the motor or battery hiding underneath.
If your hoverboard has started to feel a little rough, sound a bit grindy, or slip on smooth floors, dirty wheels are often the reason. Learning how to clean hoverboard wheels takes about ten minutes, costs almost nothing, and can add months to the life of your board. Mud, dust, pet hair, and tiny bits of gravel love to hide in the treads and wrap around the axle, right where the motor lives.
The tricky part is that the wheels on a hoverboard are not like the wheels on a toy car. Each one has an electric hub motor tucked inside it, and there are sensitive electronics just behind the plastic shell. So you can’t just blast them with a hose or dunk them in a bucket. The good news is that cleaning them safely is simple once you know the do’s and don’ts.
In this guide we’ll walk through exactly what to use, how to get hair off the axle, how to handle mud and scuff marks, and how to keep your wheels cleaner for longer. Whether you ride a compact 6.5-inch board or a chunky 10-inch off-road model, the same friendly steps apply. Let’s get those wheels rolling like new again.
This article is part of our hoverboard troubleshooting hub, which covers every common fault, from charging to calibration.
Why Clean Hoverboard Wheels in the First Place?
It’s easy to think of wheel cleaning as just making your board look nice, but it’s really about how it rides. Hoverboard tires are made of rubber with a light tread pattern, and that tread is what grips the floor. When mud, dust, and grime fill in those grooves, the tire turns smooth and slippery, which is exactly what you don’t want on a self-balancing board. Clean wheels simply grip better and feel more stable under your feet.
There’s also a hidden problem most riders don’t notice until it gets loud: hair and string. Long hair, thread, grass, and pet fur wrap tightly around the axle where the wheel meets the shell. Over time it builds into a thick band that rubs, squeaks, and forces the motor to work harder. That extra drag drains your battery faster and, in bad cases, can wear out the motor. A quick clean keeps that from ever starting.
A regular wheel clean also gives you a chance to spot trouble early. While you’re down there, take a good look at the rubber and how each wheel spins.
- Flat spots or bald patches worn into the tread
- Cracks or splits in the rubber
- A wheel that wobbles or feels loose
- Grinding or clicking when you spin it by hand
| Tool | What It’s For | Rough Cost |
|---|---|---|
| Soft detailing brush or old toothbrush | Loosening dirt in the treads and around the axle | $5 to $15 |
| Microfiber cloths | Wiping wheels and shell dry without scratches | $8 to $12 |
| Cotton swabs | Getting into tight spots right by the axle | $2 to $4 |
| Mild dish soap | A few drops in warm water for light grime | $3 |
| Tweezers or a butter knife | Lifting hair and string off the axle | Already have it |
| Can of compressed air | Blowing grit out of the wheel gap | $6 to $10 |
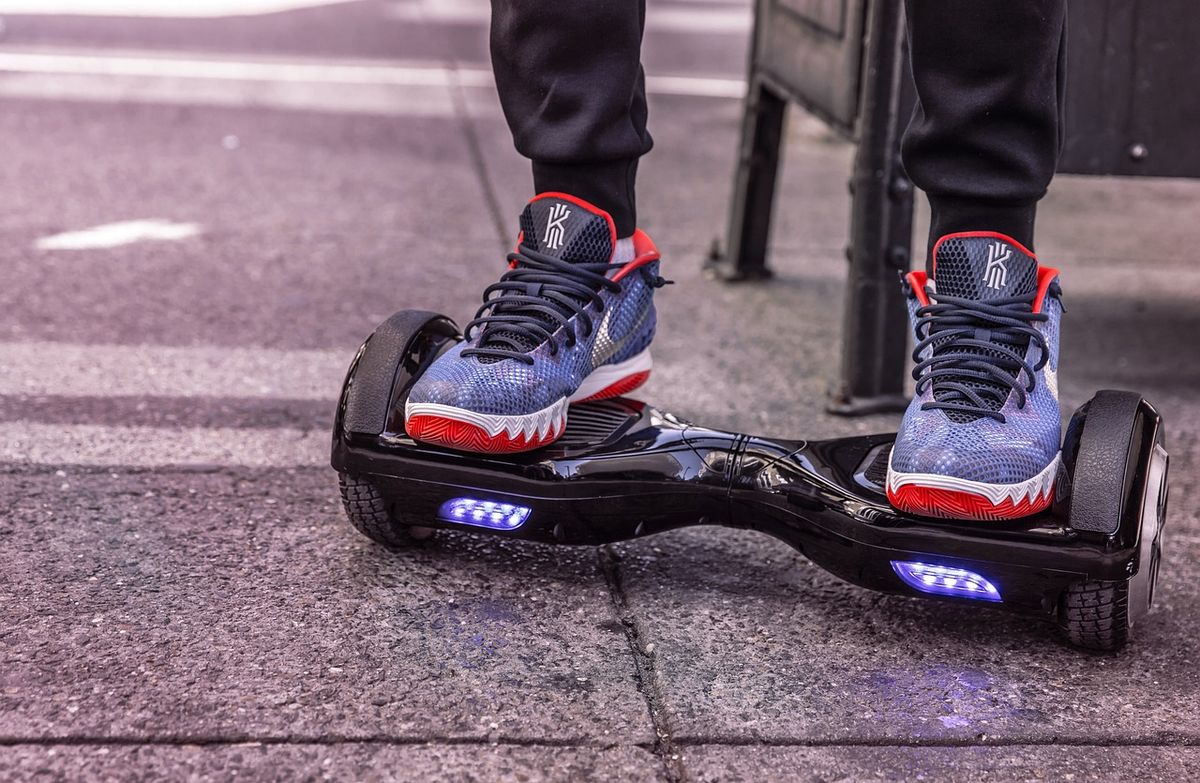
What You’ll Need to Clean Your Wheels
The best part about cleaning hoverboard wheels is that you probably already own most of what you need. You’re not looking for anything fancy or strong. In fact, gentle is the whole point. The goal is to lift dirt away without soaking the board or attacking the rubber with harsh chemicals.
A soft brush is your main tool. An old toothbrush, a dish brush, or a proper detailing brush set all work great for digging grime out of the treads. Add a couple of microfiber cloths, some cotton swabs for tight corners, and a small bowl of warm water with a few drops of mild dish soap. That’s honestly the whole kit, and it will cost you a few dollars at most.
Just as important is what to leave in the cupboard. The wrong cleaner can do more harm than the dirt ever would, so keep these away from your board:
- Bleach, ammonia, or strong household sprays
- Degreasers, brake cleaner, or paint thinner
- WD-40 or any oily lubricant spray
- A garden hose, pressure washer, or full bucket dunk
How to Clean Hoverboard Wheels Step by Step
Ready to actually clean them? Here’s the simple routine from start to finish. The whole thing takes about ten minutes, and once you’ve done it a single time you’ll have it memorized for good.
Step 1: Power off and flip it over
Turn the hoverboard off and unplug the charger. Then flip the board upside down and rest it on a towel or soft mat so both wheels can spin freely in the air. This keeps a wheel from suddenly kicking on while your fingers are near it, and it gives you a clear view of the axle where most of the gunk hides.
Step 2: Brush off the loose stuff first
Before any water touches the board, knock off the dry dirt. Spin each wheel slowly by hand and work a soft brush into the treads to loosen packed gravel and dust. A quick blast of compressed air, or even just blowing hard, helps clear grit out of the narrow gap between the wheel and the shell.
Step 3: Free the axle of hair and string
Look closely where the wheel meets the plastic shell. If you see hair, thread, or grass wound around the axle, gently pull it loose with tweezers, or slide a butter knife under the band and lift it off. Take your time here so you don’t nick any wires or scratch the shell.
Step 4: Wipe with a damp, soapy cloth
Dip a cloth in your warm soapy water and wring it out until it’s just damp, not dripping. Wipe down the tire, the tread, and the plastic around it. For stubborn grime, dip your brush in the soapy water and scrub lightly, then wipe the suds away with a clean, barely-damp cloth.
Step 5: Dry everything before you ride
Finish by drying the wheels and shell with a fresh microfiber towel. Get the axle area as dry as you can. Let the board sit for a little while before charging or riding, especially if any water sneaked near the seams. Never use a hair dryer, since the heat can hurt the electronics.
Cleaning Solid vs Air-Filled Wheels
Not every hoverboard wheel is the same, and the type you have changes how careful you need to be. Most standard boards, the 6.5-inch and many 8.5-inch models, use solid rubber tires. These are puncture-proof and low-maintenance, so cleaning is mostly about clearing the treads and wiping them down. There’s no air valve to fuss over.
Bigger off-road boards, usually the 10-inch size, ride on pneumatic (air-filled) tires, a lot like small bicycle tires. These have deeper, chunkier treads that trap far more mud and gravel, so they take a little more brushing. You’ll also want to dry the valve area well and, while you’re there, check that the tire still has enough air. Wide 8.5-inch ‘Hummer-style’ off-road wheels fall in between: solid, but with deep treads that love to hide grit.
No matter the type, the golden rule never changes. Keep water off the axle and out of the seams. The table further down breaks the quick differences into one easy view.
Tackling Stubborn Mud, Scuffs, and Tangled Hair
Some messes need a little extra attention. Here’s how to handle the three big ones without reaching for anything harsh or risky.
Caked-on mud
Let it dry first. It sounds backwards, but wet mud just smears everywhere, while dry mud cracks off cleanly. Once it’s dry, brush the bulk away, then loosen what’s left with a damp brush and wipe it clean. Never chip at it with anything metal and sharp, or you’ll gouge the rubber and ruin the tread.
Black scuff marks
Those dark streaks are usually rubber transferred from floors or curbs. Put a little rubbing alcohol on a cloth, not straight onto the wheel, and rub the mark gently until it fades. Wipe it with a damp cloth afterward. A clean pencil eraser can also lift light scuffs off the plastic shell.
Hair wrapped tight around the axle
This is the big one. If the band of hair is packed on hard, snip it carefully with small scissors, then unwind the pieces with tweezers. If your board keeps eating hair and string, it may be worth removing the outer shell screws for a deeper clean, but only if you’re comfortable with a screwdriver and can put everything back exactly as it was.
Keep Your Wheels Cleaner for Longer
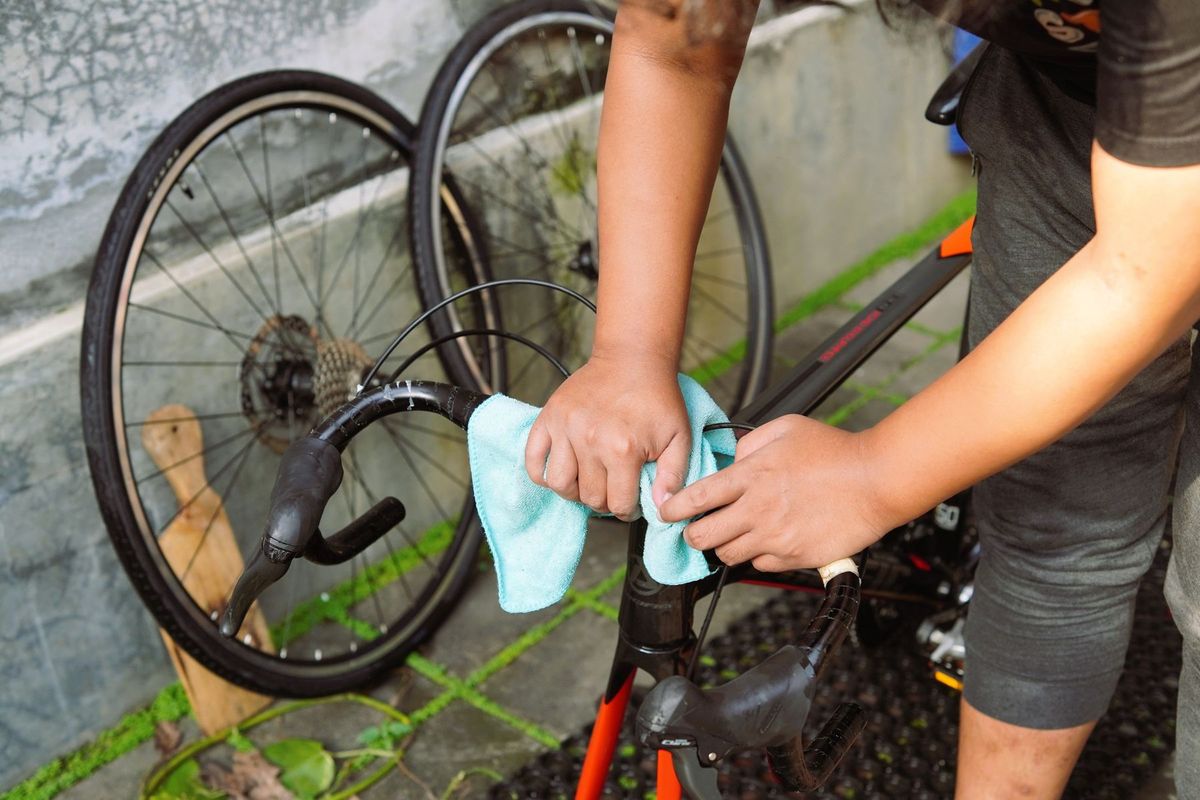
A little prevention means you’ll almost never face a big cleanup. The easiest habit is a 30-second dry-brush after any ride through dirt, grass, or a dusty garage. Knocking the grit off while it’s still loose stops it from packing into the treads and grinding away at the rubber over time.
Where you ride and store the board matters too. Try to avoid puddles, wet grass, and loose gravel when you can, not just to stay clean, but to keep water and stones away from the motor. When you’re done, store your board indoors somewhere dry and cool, up off the damp garage floor. A fast wipe before it goes away keeps dust from settling into the wheels.
- Dry-brush the treads after muddy or grassy rides
- Check the axle for wrapped hair every week or two
- Wipe the wheels down before you store the board
- Keep it off wet or dusty floors between rides
- Avoid puddles and deep gravel while riding
When Cleaning Isn’t Enough (Time to Replace)
Sometimes a wheel isn’t dirty, it’s just worn out, and no amount of scrubbing will fix that. Rubber tires slowly lose their tread with miles, and once the grip is gone they can feel slippery even when spotless. If you’ve cleaned a wheel well and it still feels off, it’s worth a closer look before your next ride.
Watch for a few clear signs. A flat spot on the tire will give you a bump-bump feeling every single rotation. A tire that keeps losing grip on smooth floors is probably bald. And if a wheel wobbles, clicks, or grinds even after you’ve cleared the axle of hair, the bearing or motor may be wearing out. On air-filled tires, a slow leak that needs constant pumping usually means the inner tube is due for a swap.
- Bald patches or a visible flat spot on the tread
- Cracks or chunks missing from the rubber
- A wobble that stays after cleaning
- Grinding or clicking from inside the wheel
- An air tire that won’t hold pressure
| Wheel Type | Common Sizes | How to Clean | Water Warning |
|---|---|---|---|
| Solid rubber (no-flat) | 6.5″ and 8.5″ | Dry-brush, then wipe with a mild soapy cloth | Never soak; keep water off the axle |
| Wide off-road solid | 8.5″ Hummer-style | Firmer brush for mud, then a damp wipe | Extra grit hides in the wide, deep treads |
| Pneumatic (air-filled) | 10″ | Brush deep treads, wipe sidewalls, check air | Dry the valve area fully after wiping |
| How You Ride | Clean the Wheels | Also Check |
|---|---|---|
| Indoors or smooth pavement | Every 2 to 3 weeks | Hair wrapped around the axle |
| Sidewalks and parks | Every 1 to 2 weeks | Grit packed into the treads |
| Grass, dirt, or gravel | After each ride | Caked mud and wheel wobble |
| After rain or puddles | Right away, then dry 24 to 48 hours | Any water near the motor |
Common Mistakes (and How to Fix Them)
Fix: Use a cloth dampened with soapy water and wrung out well instead. A stream of water pushes moisture straight into the axle and motor, which can short the electronics. A damp cloth is as wet as your board should ever get.
Fix: Stick to a few drops of mild dish soap in warm water. Strong chemicals and oily sprays dry out and crack the rubber, cloud the plastic, and can seep toward the battery and board.
Fix: Always turn it off and unplug the charger first, then flip it over. A wheel that suddenly spins with your fingers near the axle is an easy way to get pinched or scratched.
Fix: Check the axle every week or two and pull off any hair, thread, or grass with tweezers. Left alone, that band builds up, squeaks, drains the battery, and strains the motor.

Pro Tips
- 💡 Flip the board over and spin each wheel by hand before you start. You’ll spot hidden hair, flat spots, and packed grit in a few seconds.
- 💡 Keep an old toothbrush and a handful of cotton swabs set aside just for the axle gap, since that’s the spot a big brush can’t reach.
- 💡 Do a quick 30-second dry-brush after every dirt or grass ride so mud never gets the chance to cake on hard.
- 💡 For black scuff marks, dab a little rubbing alcohol on a cloth (never straight on the wheel) and rub gently until they fade.
- 💡 Stash a small microfiber cloth in your backpack for fast wipe-downs the moment you finish a ride.
An Example Scenario
Illustrative example: a composite of situations riders often describe, not a real customer story.
Mia rides her 8.5-inch board to class most mornings, and after a summer of shortcuts across the campus lawn she noticed a soft grinding whine coming from one wheel. She flipped the board over and found a thick rope of hair and dried grass wound tight around the axle. Five minutes with tweezers and a damp brush later, the whine was gone and the wheel spun freely again, and she swears her battery lasts noticeably longer now.
Dog owners see the same thing with pet fur. His golden retriever sheds like crazy, and the fur kept getting sucked into the wheel gap until the motor started to drag. Now he does a quick axle check every Sunday night, and he hasn’t had a single grinding wheel since.
Frequently Asked Questions
Only lightly, and never with a stream or spray of water. Use a cloth dampened with warm, soapy water and wrung out well, then wipe the wheels clean. Each wheel holds an electric motor and the shell hides the battery and circuit board, so soaking, hosing, or dunking the board can cause short circuits and lasting damage. A damp cloth is as wet as your board should ever get.
Long hair, thread, grass, and pet fur naturally get pulled into the small gap where the wheel meets the shell, then wind tightly around the spinning axle. It is extremely common and builds up a little at a time. Left alone, that band of hair rubs, squeaks, drains your battery faster, and makes the motor work harder. Check the axle every week or two and pull any hair off with tweezers.
Skip WD-40 and degreasers entirely, and use alcohol only sparingly. Oily sprays and strong solvents dry out and crack the rubber, cloud the plastic, and can seep toward the electronics. For everyday cleaning, mild dish soap and warm water are all you need. A little rubbing alcohol on a cloth is fine for lifting black scuff marks, but don’t soak the wheel in it.
Every one to two weeks for regular riders, and after every ride on dirt, grass, or gravel. If you mostly cruise indoors or on smooth pavement, once every two to three weeks is plenty. The most important habit is a quick check after wet or muddy rides. Wipe the board down and clear the axle so grime never gets a chance to build up.
A squeak right after cleaning usually means there’s still hair or debris wound around the axle, or a little moisture left behind. Flip the board over, spin the wheel by hand, and look closely where it meets the shell for any leftover strands. Make sure everything is fully dry, too. If the grinding continues after the axle is clean and dry, the bearing or motor may be wearing out and need service.
No, most of the time you don’t. A soft brush, a damp cloth, and some cotton swabs will handle the treads and axle without removing anything. Only take the outer shell off for a deeper clean if hair keeps tangling badly or the wheel still grinds, and only if you’re comfortable with a screwdriver and can reassemble it exactly as it was.
Final Checklist ✅
- ✅ Power off and unplug the hoverboard before you start
- ✅ Flip it over and spin each wheel to inspect it
- ✅ Dry-brush loose dirt and gravel out of the treads
- ✅ Pull hair and string off the axle with tweezers
- ✅ Wipe the wheels with a damp, well-wrung soapy cloth
- ✅ Dry everything, especially the axle, with a microfiber towel
- ✅ Let it air-dry fully before you charge or ride again