
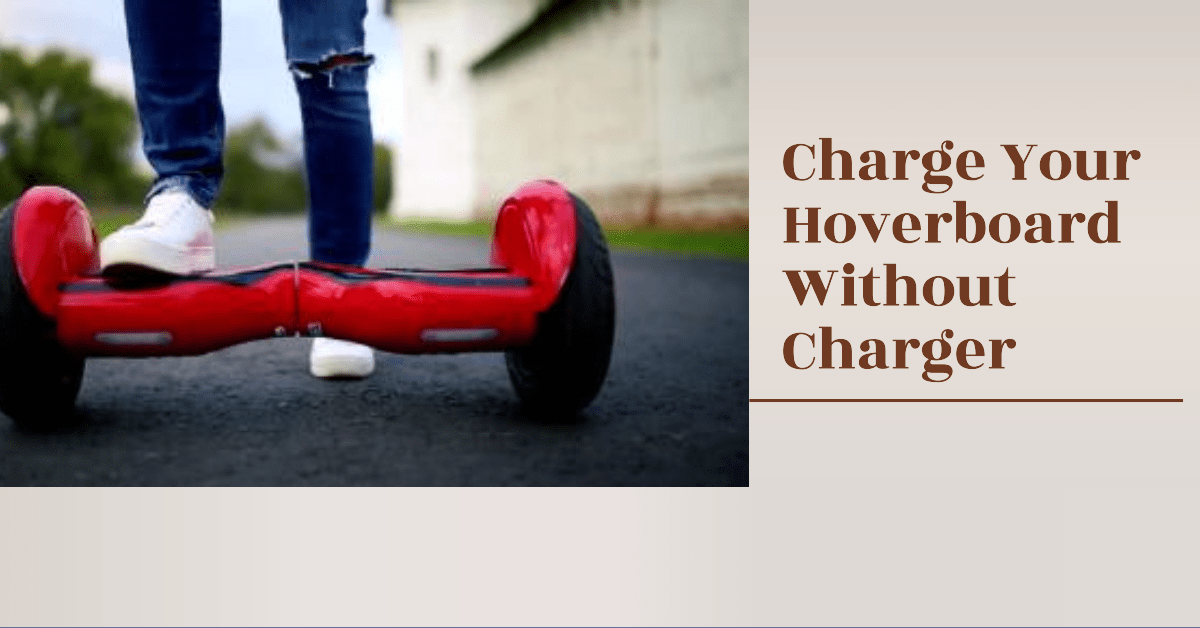
Not having the right hoverboard charger can be frustrating if your battery runs low and you want to keep on gliding. Whether you lost your charger or it stopped working, you have options to get your hoverboard powered up again. With some basic electrical knowledge and the right accessories, you can safely charge many models using alternates to the factory charger.
This guide will walk through hoverboard charging basics, make charger recommendations, and provide step-by-step instructions to charge without the original equipment. We’ve also included troubleshooting tips if your board isn’t charging properly with the new power source. With a bit of effort, you can keep the fun rolling!
How Hoverboard Charging Works
What makes hoverboards scoot down the street? Built-in lithium ion battery packs and motors. These batteries need to be regularly recharged to keep the hoverboard operational.
Here are some key charging basics:
- Hoverboards use 25-35 volt lithium ion battery packs ranging from 2 to 5 amp hours
- Chargers convert AC wall power to DC to safely charge the batteries
- Charging times range from 2-5 hours depending on battery size
- Chargers have indicators to show charging status and completion
- Batteries last 1-2 hours per charge depending on terrain and rider weight
Using the right power output and connector is crucial to safely charging your board. Mismatches can damage the battery or cause overheating.
Choosing an Alternate Charger
You’ll need to select a replacement charger carefully for compatibility with your model. Here what to look for in a hoverboard charger if you don’t have the original:
Power Output
Match the voltage (25-35V) and amperage of the original charger. This should be printed on the battery housing or original power brick. Too little power could lead to long charge times, and excessive levels can damage circuits.
Connector Tip
The charger connector must securely plug into the port on your hoverboard. Different brands may use barrel connectors, circular ports, or custom shapes. Universal charging cables with various tips are available to plug into most models.
Safety Certifications
Choose chargers certified by quality testing bodies like UL or RoHS to meet safety standards. This ensures proper voltage control, fire resistance, and durability for consumer electronics.
A universal smart hoverboard charger is ideal, as it can identify the power needs of your model and adjust output accordingly during charging. See the recommendations below for top options.
Recommended Universal Hoverboard Chargers
| Charger | Key Features |
|---|---|
| COOLLCD Hoverboard Charger | Fits almost all models, charges 2-10A batteries, auto voltage adjustment for 36V/42V boards |
| MEASY RC Hoverboard Charger | 8-pin universal connector fits majority of boards, charges 4-10A batteries |
| DREAMVE Ultralight Charger | Super portable, charges 6.5-inch to 10-inch hoverboards, temp control tech |
Step-by-Step Charging Instructions
Once you’ve selected an appropriate charger for your hoverboard model, follow these best practice steps for charging:
- Inspect the battery housing – Ensure there are no cracks or water damage that could impact charging.
- Connect the charger – Plug into wall outlet and insert connector tip securely into the hoverboard port.
- Check status lights – Solid red light indicates it’s charging. Solid green means fully charged. No light or blinking means improper connection.
- Charge for designated time – Don’t use or disconnect until fully charged per directions. Most models take 2-5 hours.
- Disconnect properly when finished – Unplug wall charger first, then carefully remove connector tip from hoverboard port to avoid damage.
Be present periodically to check proper charging and no overheating during this process for safety.
Troubleshooting Charging Issues
If your hoverboard isn’t charging properly using the new charger, try these common troubleshooting fixes:
- Verify you bought the right charger for your model
- Clean the charging port on your hoverboard for clear contact
- Make sure the wall outlet provides consistent power
- Try charging board in different outlets around your home
- Replace fuse in the wall charger if blown
- Have certified shop test the battery and charge port condition
If problems persist, you may need to replace the battery or internal charging components. This is when buying quality hoverboards and chargers pays off for longevity!
Keep On Rolling!
We hope these hovering tips empower you to charge up without the original equipment and keep cruising safely. Investing in a smart universal charger suitable for your model saves money over brand-name replacements. And take care of your new power brick – label cords clearly, store properly between uses, and avoid yanking by the wires.
With the right tools and knowledge, dead hoverboard batteries will never kill your fun! Just use caution, be patient while recharging, and glide on.

I’m the founder of HoverboardsGuide.com, a comprehensive website dedicated to electric scooters and hoverboards. With a deep-rooted passion for electric gadgets, I’ve accumulated extensive experience in this field. I aim to assist users in selecting the best gadgets and providing reliable guidance.
I’ve tested and reviewed numerous models, gaining in-depth knowledge about their features, performance, and overall quality. Feel free to reach out to me with any queries, as I’m dedicated to addressing your concerns promptly. Join me on this exciting journey of exploring the world of electric rides and making informed decisions