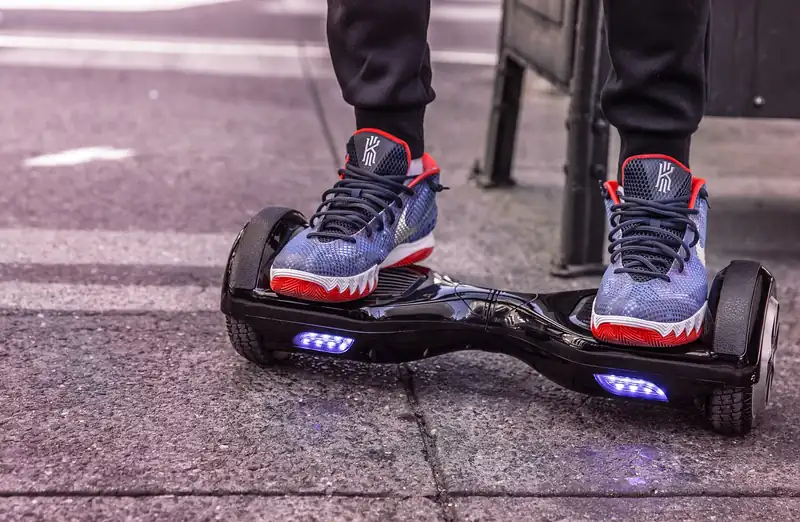
The sensors, motors, and tiny computer that keep you balanced — explained in plain English, no engineering degree required.
Step onto a hoverboard for the first time and one question pops into everyone’s head: how does a hoverboard work? There are no handlebars, no throttle, and no steering wheel, yet the thing balances you and rolls wherever you lean. It really does look like magic the first time you see it.
The good news is that the answer is simpler than it seems. A hoverboard works using a small set of motion sensors, two electric motors, and a tiny computer that ties them together. Those sensors feel every little way you tip, and the motors respond by spinning the wheels to keep you upright, hundreds of times every second.
In this guide, we’ll open the board up and walk through it in plain English. You’ll learn what each part does, how the self-balancing ‘magic’ actually happens, how steering works, and why battery safety and UL 2272 certification matter so much. No engineering degree required, just a little curiosity.
This article is part of our hoverboard buying guide, which brings together every hoverboard guide on the site.
The Quick Answer: How a Hoverboard Works
Let’s start with the simple version. A hoverboard works by constantly keeping itself level under your feet. Inside the two footpads sit motion sensors, a small computer, and two electric motors. The sensors feel the exact moment you start to tip. The computer instantly does the math. Then the motors spin the wheels just enough to slide back under your body. Do that fast enough, and you stay balanced without even thinking about it.
The best way to picture it is balancing a broom on the palm of your hand. When the broom leans forward, you move your hand forward to catch it. Lean it back, and you pull your hand back. A hoverboard plays the exact same game, except it uses wheels instead of a hand, and it reacts hundreds of times every second. Engineers call this the ‘inverted pendulum’ problem, and it’s one of the classic puzzles in physics.
So there’s no floating and no hidden trick. Every time you shift your weight, the board reads it and answers with the wheels. It feels like magic, but it’s really just very fast, very steady teamwork between sensors and motors.
| Part | What It Does | Everyday Comparison |
|---|---|---|
| Gyroscope + tilt sensors | Measure how far and fast you tip | Your inner ear |
| Accelerometer | Tracks speed and direction | Your sense of motion |
| Logic board | Reads the sensors and commands the motors | The brain |
| Two hub motors | Spin each wheel to balance and drive | Your leg muscles |
| Lithium-ion battery | Stores and supplies the power | The fuel tank |
| Pressure pads + switches | Sense when and how you lean | Light switches under your feet |

What’s Inside a Hoverboard? The Key Parts
Open up a hoverboard and you’ll find fewer parts than you might expect. Each one has a single clear job, and together they make balancing possible. Here are the pieces that matter most, and what each one actually does.
The gyroscope and tilt sensors
This is the board’s sense of balance. A tiny MEMS gyroscope measures how far and how fast you’re tipping, reading your movement around 100 times per second. Extra tilt sensors near the wheels feed it more information. Think of it as the board’s inner ear.
The accelerometer
Working right beside the gyroscope, the accelerometer tracks speed and direction. On modern boards, both sensors live on one small 6-axis chip. Blending their readings gives the board a clear, honest picture of exactly how it’s positioned at every moment.
The logic board
This is the brain. It takes the flood of sensor data, decides what needs to happen, and sends orders to the motors. It’s also where extras like Bluetooth, app connectivity, and battery management live on newer 2026 models.
The two hub motors
Each wheel has its own electric motor tucked right inside it. These are the muscles. Because they work independently, one wheel can spin while the other stays still, which is how you turn and even spin in place.
The lithium-ion battery
Usually a 36V or 42V pack, the battery is the fuel tank. Quality boards use name-brand LG or Samsung cells, which run cooler and last longer than cheap no-name cells.
The pressure pads and switches
Under each footpad are switches linked to an infrared sensor. When you lean, the pad presses down and tells the board you want to move. This is the link between your body and the electronics.
How It Balances and Moves, Step by Step
Now let’s put the parts together and follow what happens in a single second of riding. It starts with the sensors. The gyroscope and accelerometer are both watching your tilt, but neither is perfect on its own. So the logic board blends their readings together, a trick engineers call sensor fusion, to get one clean, trustworthy number for exactly how you’re leaning.
Next comes the decision. The board runs that tilt number through a control method known as a PID loop. It sounds fancy, but the idea is friendly. ‘Proportional’ means a small lean gets a small response and a big lean gets a big one. ‘Integral’ means if you’re still slightly off, say you’re carrying a heavy backpack, it adds a little extra power to fix that steady error. ‘Derivative’ is the clever part: it watches how fast you’re returning to level and eases off so you don’t overshoot and wobble. That last piece works like a software shock absorber, and it’s the reason a good board feels smooth instead of jerky.
Finally comes the action. If you’re leaning toward your toes, the pressure pad presses down and breaks a small infrared beam inside the footpad. That’s the board’s signal to roll forward. The logic board tells the motors how fast to spin, and the wheels move to catch up with your center of gravity. The whole loop, sense then decide then act, repeats about 100 times every second. That’s why the board seems to read your mind. It’s not reading your mind; it’s just checking in constantly and making tiny corrections faster than you can notice.
Steering, Turning, and Spinning in Place
Turning is where those two independent motors really shine. Because each wheel has its own motor, the board can spin them at different speeds, or even in opposite directions. That’s the whole secret behind steering.
To curve, you press down gently with the toes of one foot. Push your left toe forward and the left wheel speeds up while the right one holds back, so you arc to the right. Push your right toe and you swing the other way. To spin in place, you press opposite corners, one toe forward and the other heel down, and the two wheels turn in opposite directions, rotating you like an office chair. It looks impressive, but it comes from very small foot movements.
Because your feet control each side separately, tight turns and slow circles quickly start to feel natural. Most riders are carving smooth turns within their first ten or fifteen minutes.
Self-Balancing Mode vs. Training Mode
Here’s something that trips up a lot of new riders: not every hoverboard makes balancing equally easy, and it comes down to a setting called self-balancing mode.
With self-balancing mode on, the board levels itself the moment you turn it on. The footpads sit flat and steady before you ever step up, so you can place one foot, then the other, onto a platform that’s already doing the work. This is the beginner-friendly setup, and on most 2026 boards it’s switched on by default.
Without it, sometimes called training or non-self-balancing mode, you have to level the board yourself as you climb on, keeping both pads even while you find your footing. It’s harder and wobblier, and it’s usually meant as a practice mode for riders who want more manual control. If your board ever feels strangely tippy right as you mount it, check whether self-balancing mode got switched off. Turning it back on usually fixes that ‘why won’t it hold still’ frustration instantly.
Battery Power and Why UL 2272 Matters
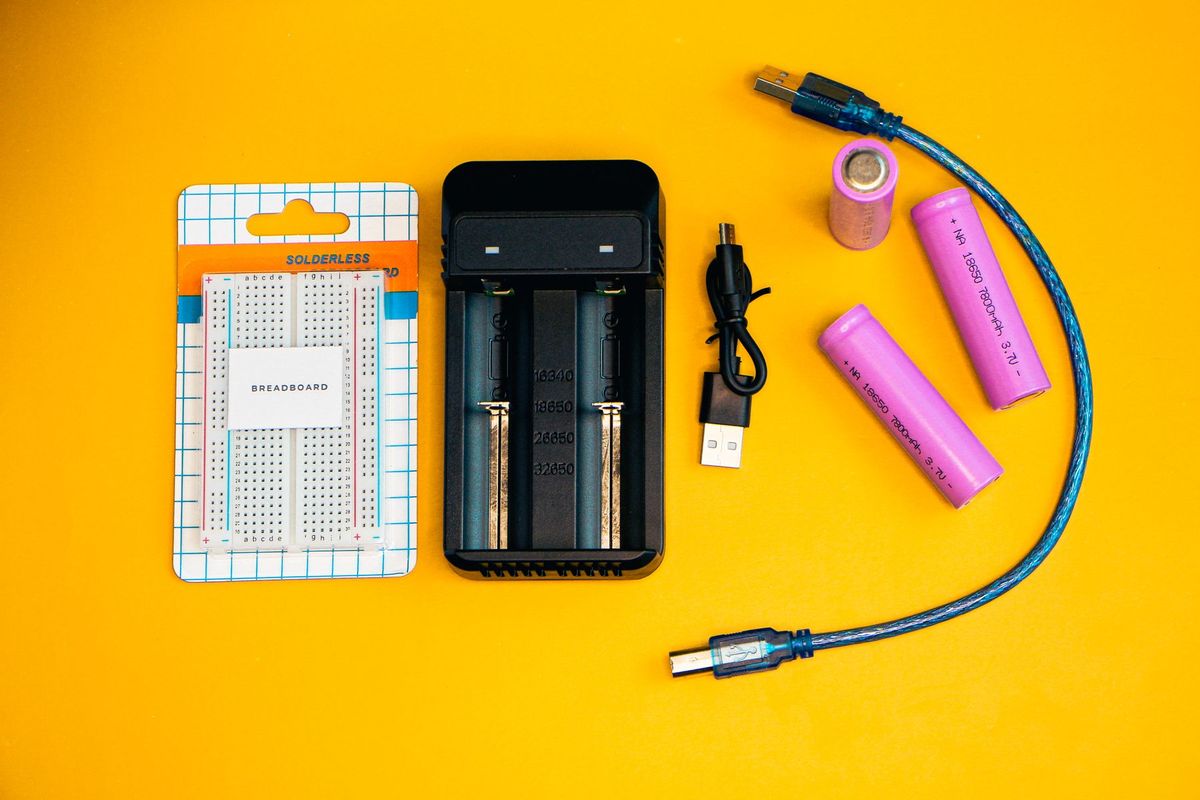
You can’t talk about how a hoverboard works without talking about the battery, because for a while, batteries were the scary part. Back in 2015 and 2016, cheap hoverboards flooded the market with low-quality lithium-ion packs. Some overheated, and by early 2016 U.S. safety officials had logged more than 50 hoverboard fires. It was a real problem, and it nearly killed the whole category.
The fix was a safety standard called UL 2272. Instead of testing just one part, it checks the entire electrical system, the battery, the charger, and all the wiring, as a whole. Boards get put through overcharge tests, short-circuit tests, heating and cooling cycles, and even impact and crush tests that mimic rough real-world use. If a board passes, it earns the UL 2272 mark.
Two things are worth knowing. First, certification covers the whole board, so a listing that only claims a ‘UL certified battery’ is not the same thing. Second, no standard can promise a battery will never fail. But a UL 2272 board is dramatically safer than an uncertified one, and today it’s the baseline you should insist on. Pair that with common sense, use the charger that came in the box, charge on a hard surface instead of a bed or carpet, and don’t leave it charging unattended overnight, and the fire risk becomes very small.
Keeping the Tech Healthy: Care and Calibration
The technology inside a hoverboard is tough, but it lasts a lot longer when you treat the battery kindly. Most packs are rated for about 300 to 500 full charges, which usually works out to three or four years of regular riding. After that, you’ll notice the range slowly shrink. A board that once went 9 miles might only manage 7. That’s normal aging, not a breakdown.
A few simple habits stretch that lifespan. Charge with the original charger, since its voltage is matched to your battery. Unplug it once it’s full instead of leaving it overnight. Try not to run it all the way down to zero before recharging. If you’re storing it for a few weeks, leave it around half to two-thirds charged and keep it somewhere cool and dry, since heat and deep cold are both hard on lithium cells.
One more tip that saves a lot of headaches is recalibration. If your board starts drifting on its own, vibrating, or feeling uneven side to side, the sensors have likely gotten confused. Setting it on a flat floor and running the calibration steps in the manual resets the gyroscope’s idea of ‘level’ and usually smooths everything right out.
| Model | Wheel Size | Top Speed | Range | Best For |
|---|---|---|---|---|
| LIEAGLE 6.5″ | 6.5 in | ~7.5 mph | ~7 mi | Budget first board |
| Hover-1 Ultra | 6.5 in | ~7 mph | ~7 mi | Everyday value |
| Swagtron T580 | 6.5 in | ~7 mph | ~8 mi | App and Bluetooth fans |
| Gyroor Warrior (G2) | 8.5 in | ~9 mph | ~9 mi | All-terrain riding |
| Swagtron T6 Outlaw | 10 in | ~12 mph | ~12 mi | Heavier and off-road riders |
| What You Do | What the Sensors Feel | What the Board Does |
|---|---|---|
| Stand level | No tilt | Holds still and balanced |
| Lean toward your toes | Forward tilt | Rolls forward, faster the more you lean |
| Lean toward your heels | Backward tilt | Slows, stops, or reverses |
| Press one toe down | Uneven pressure | Curves toward the other side |
| Press opposite corners | Twisting pressure | Spins in place |
Common Mistakes (and How to Fix Them)
Fix: Always power the board on first and let self-balancing mode level the footpads. Then mount one foot at a time, and never climb on while it’s still tilted or powered off.
Fix: Bending from the waist sends messy signals to the sensors and makes you wobble. Stand tall, keep your back straight, and steer with tiny tilts of your ankles instead.
Fix: If the board pulls to one side or vibrates, don’t just push through it. Set it on flat ground and recalibrate using the manual. That resets the gyroscope’s sense of level.
Fix: Overcharging and mismatched chargers stress the battery. Use the charger it came with, charge on a hard surface, and unplug as soon as the light turns green.

Pro Tips
- 💡 Practice your first rides on carpet or grass next to a wall or countertop. A soft surface and a handhold make the learning curve much gentler.
- 💡 Keep your knees slightly bent while you ride. Soft knees act like shock absorbers and help the board’s sensors keep you balanced over bumps.
- 💡 If one side starts drifting, recalibrate before your next ride instead of fighting it. The reset usually takes under a minute.
- 💡 For the longest battery life, top up before you hit empty and store the board around 50 to 70 percent charge in a cool, dry place.
- 💡 Only shop for UL 2272 certified boards. It’s the single most important spec for your safety, more than speed or range.
An Example Scenario
Illustrative example: a composite of situations riders often describe, not a real customer story.
Set a hoverboard down on a flat floor, turn it on, and it sits perfectly level on its own. That’s the clearest sign of how it works: the board is already making tiny corrections before anyone steps on. Most first tries are wobbly, but within about ten minutes most riders’ ankles find the rhythm.
Picture a buyer who skipped the UL 2272 check and grabbed a cheap no-name board online. It rode fine for a month, then the battery started getting warm while charging. She returned it and bought a certified one instead, and the peace of mind was easily worth the extra few dollars.
Frequently Asked Questions
A hoverboard balances itself using motion sensors and a small computer that adjust the wheels hundreds of times per second. Inside are a gyroscope and an accelerometer that feel exactly how you’re tipping. That data goes to a logic board, which tells the two motors how fast to spin. When you lean forward, the wheels roll forward just enough to stay under your body, the same way you’d step forward to catch a broom falling off your hand. It happens so fast and so often that the board feels perfectly steady.
A hoverboard moves forward when you lean your weight slightly toward your toes. Under each footpad are switches connected to an infrared sensor. Leaning presses the pad, which tells the logic board you want to go. The board then spins both wheels forward to catch up with your center of gravity. The more you lean, the faster it goes, right up to the board’s top speed. Lean back toward your heels and it slows down, stops, or reverses.
Yes, gyroscopes are a core part of how every self-balancing hoverboard works. A gyroscope measures tilt and rotation, while a partner sensor called an accelerometer measures speed and direction. Modern boards use a tiny 6-axis MEMS chip that handles both jobs and reads your movement about 100 times a second. Without the gyroscope, the board would have no idea which way it was leaning and couldn’t balance at all.
You turn a hoverboard by pressing down with one foot more than the other. Each wheel has its own motor that works independently. Push your left toe down and the left wheel speeds up, curving you to the right. Press opposite corners with each foot and the board can even spin in place. Turning feels natural after a few minutes because it uses the same small ankle movements you already use to balance.
Modern UL 2272 certified hoverboards are far safer than the early models that made headlines in 2015 and 2016. Back then, cheap batteries caused dozens of fires, so the safety group UL created the UL 2272 standard. It tests the whole board, including the battery, charger, and wiring, with overcharge, short-circuit, heat, and crush tests. Certification can’t promise zero risk, but it lowers it dramatically. Always buy a certified board, use the charger it came with, and don’t leave it charging unattended overnight.
A hoverboard battery usually lasts about 3 to 4 years, or roughly 300 to 500 full charges, before it starts to weaken. On a single charge, most boards travel 6 to 12 miles and take 2 to 4 hours to refill. You can stretch the battery’s life by not draining it to zero, unplugging it once it’s full, and storing it around half charged in a cool, dry spot. Over time you’ll notice the range slowly shrink, which is normal wear rather than a defect.
A battery management system, or BMS, is a small circuit board that protects the lithium battery. It stops overcharging, prevents over-discharging, guards against short circuits and overheating, and balances the cells so they wear evenly. It’s the most important safety part in the board and the main thing missing from the early hoverboards that caught fire.
Yes. If your board pulls to one side or feels off, you can recalibrate it, usually by placing it on a flat, level floor and holding a button or using the app. Always calibrate on level ground, because doing it on a slope teaches the sensors the wrong idea of what level is.
Final Checklist ✅
- ✅ Turn the board on and let it self-level before you step on
- ✅ Mount one foot at a time, close to a wall your first time out
- ✅ Stand tall and steer with small ankle tilts, not your whole body
- ✅ Confirm the board is UL 2272 certified before you buy or ride
- ✅ Charge with the original charger and unplug once it’s full
- ✅ Recalibrate on flat ground if the board drifts or vibrates
- ✅ Store the board indoors with a 50 to 70 percent charge